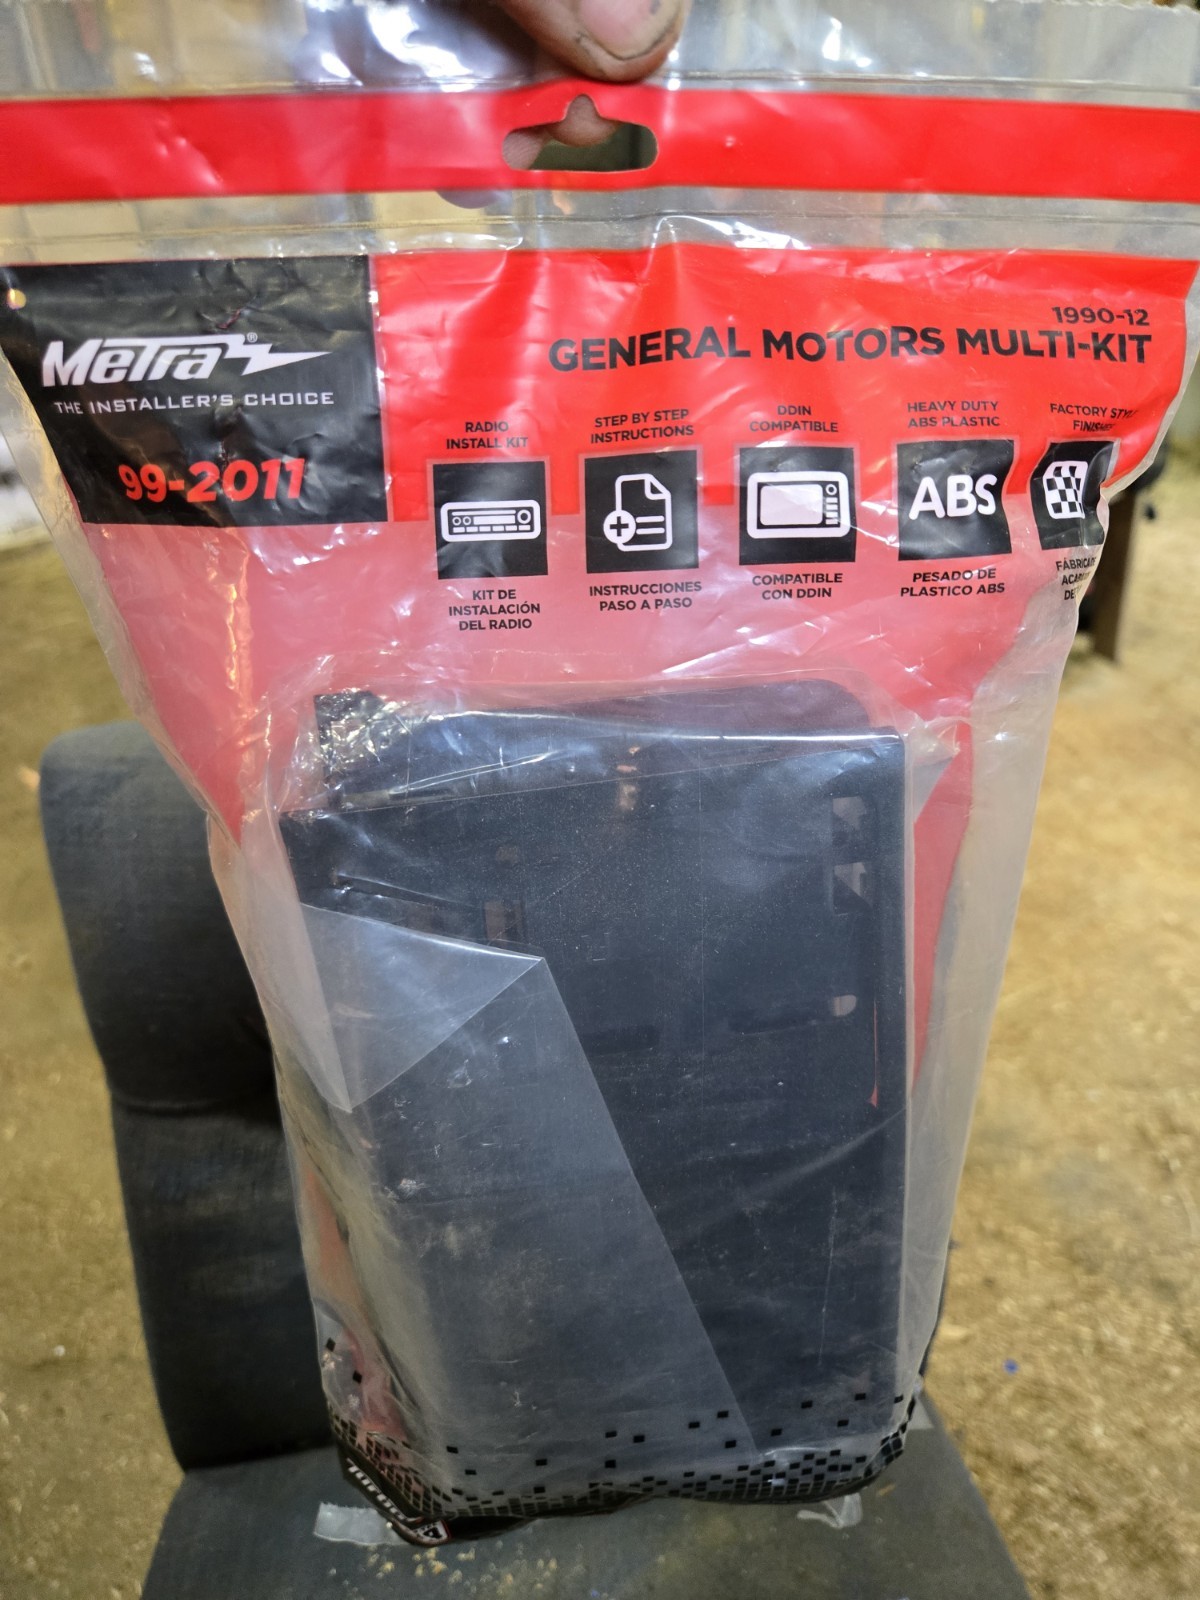
Double DIN Installation Kit, Universal Car Stereo Radio Metal Mounting Bracket,
$ 6.69
Description
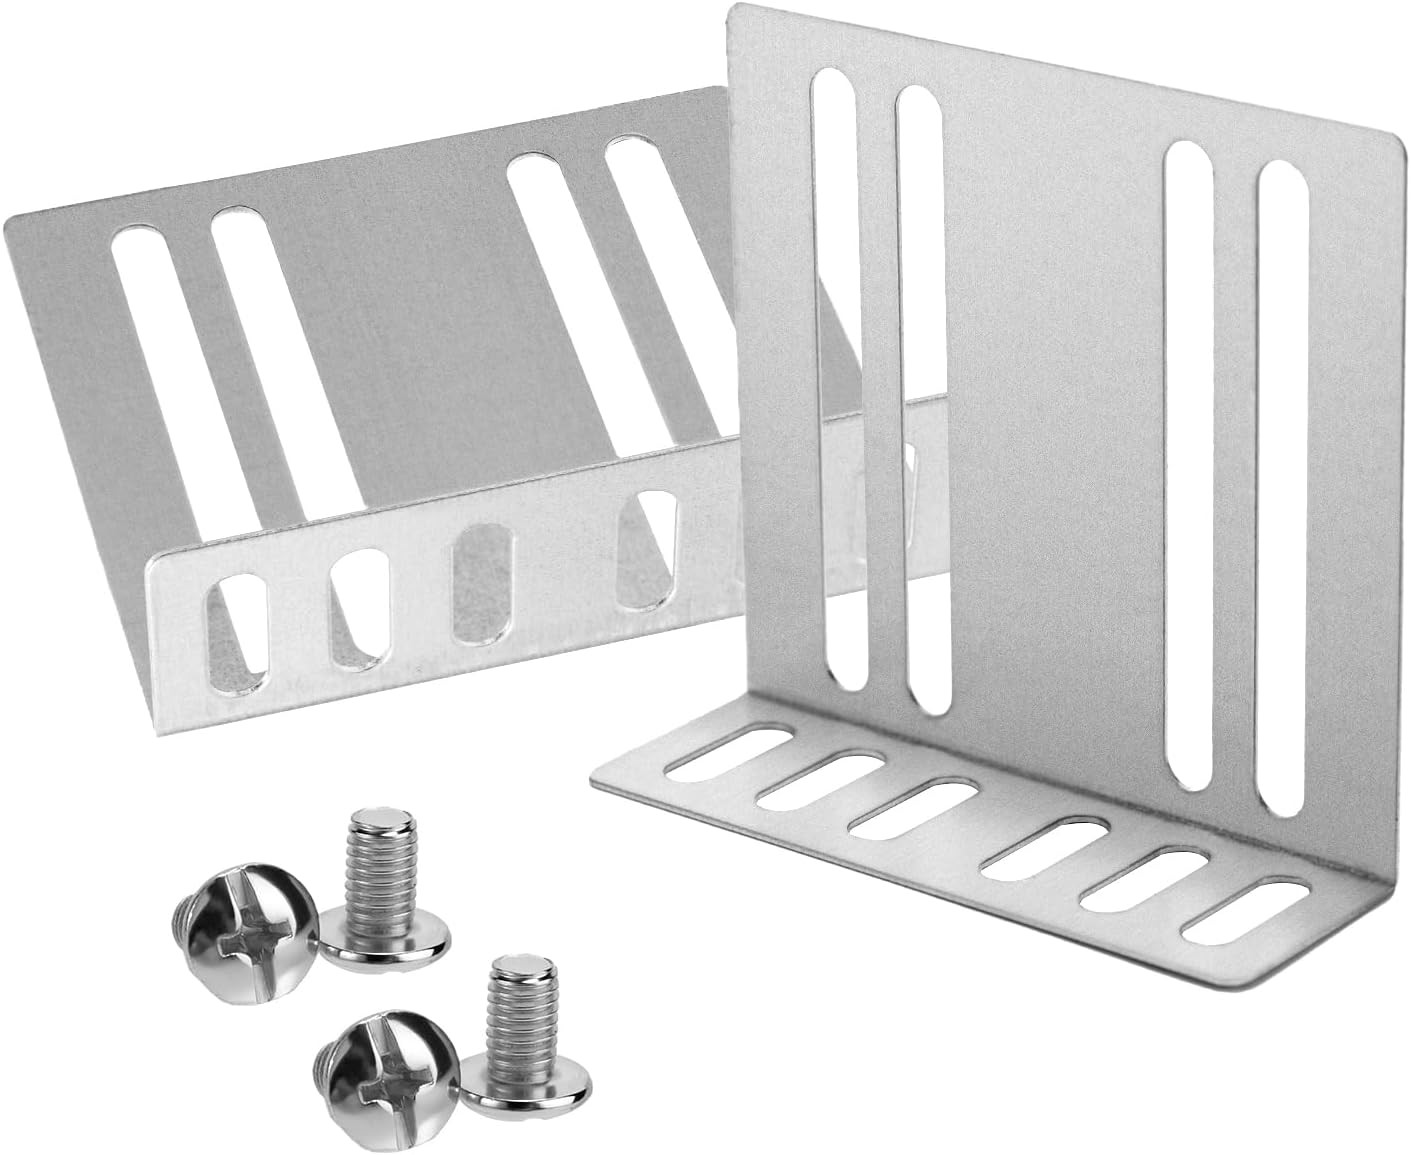
Double DIN Installation Kit, Universal Car Stereo Radio Metal Mounting Bracket, . Easy Installation: Installing this double DIN car stereo kit is a straightforward process that doesn't require any special tools. Precise Design: The double DIN installation kit features a precise fit, ensuring a flush and secure installation between the dashboard and the kit itself. Store New Arrivals Add to Favorite View Feedback Contact Double DIN Installation Kit, Universal Car Stereo Radio Metal Mounting Bracket, Car Audio & Video Dash Mounting Kit W/Screws, 3.15X1.88X0.94 Inches Description Item Weight 2.39 ounces Warranty 1 Package Dimensions 3.19 x 2.13 x 0.98 inches Universal Fit: This double DIN car stereo mounting kit is designed to fit most aftermarket double DIN head units, providing a seamless integration with your vehicle's dashboard.Bracket Size:3.15 x 1.88 x 0.94 Inches.Please ensure compatibility with your specific vehicle before purchasing. Precise Design: The double DIN installation kit features a precise fit, ensuring a flush and secure installation between the dashboard and the kit itself. Durable Construction: Made from sturdy and reliable materials, this double DIN mounting kit is built to securely hold your stereo in place on the dashboard. Easy Installation: Installing this double DIN car stereo kit is a straightforward process that doesn't require any special tools. Compatibility: Suitable for double DIN devices only. Product description Car Stereos Frame Easy installation, This iron frame is suitable for standard double din head unit Secure & Universal fitment with the strong metal design, easy for installation Our Double Din Installation Kit for Car is of great convenience to install. No special tools are required Specification: Name: Holder and Screw Material: metal Applicable scope: for universal 2 din car radio MP5 installation Packing List: Accessories: Bracket * 2+Screw * 4 DIY Designed for double din car stereos only Installation Guide: 1. Fix the side bracket onto the stereo with screws. 2. Mount the cage from the back of the unit, and clip it into the bracket. Disassemble Guide: Release the unit from the cage by the keys and pull the cage backwards.