


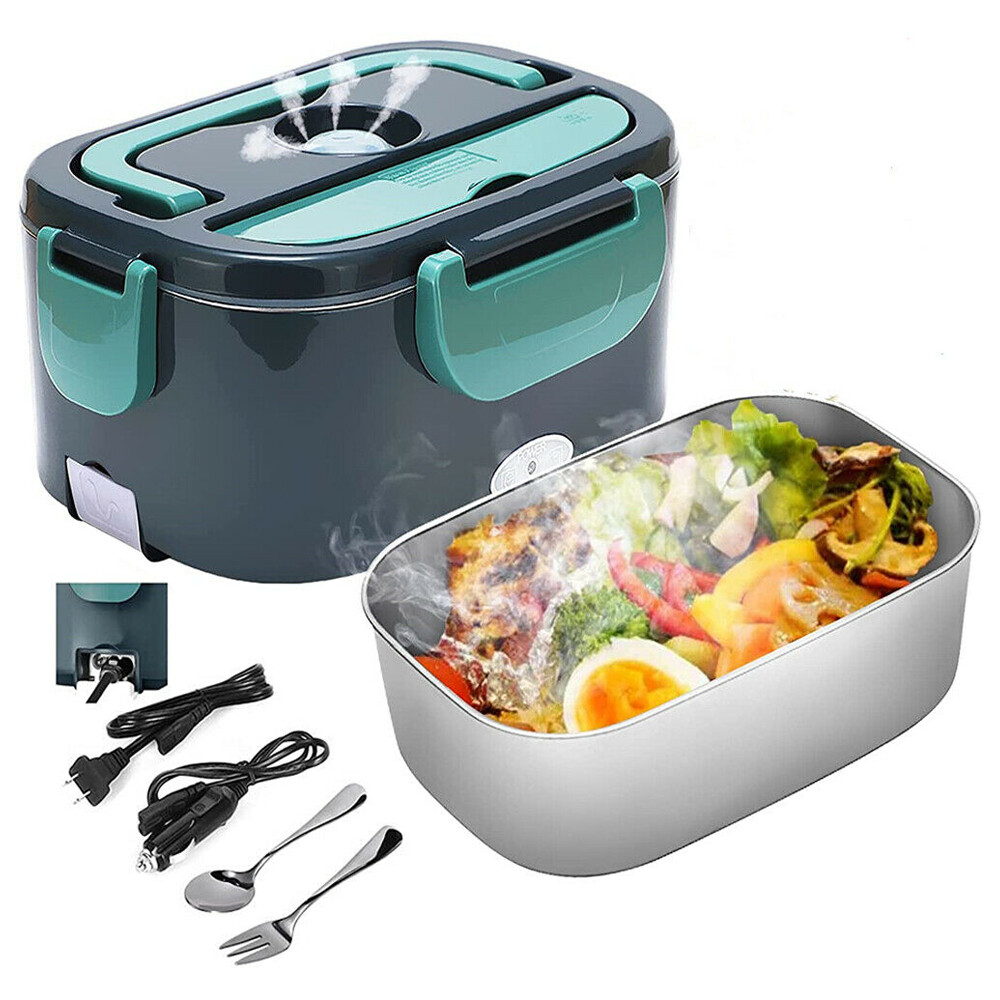
Cordless Electric Lunch Box for Adults,5.5 Cups Rechargeable Self Heating Lunch
$ 47.97
Description
From the manufacturer Previous page Next page 1 Cordless design 2 Battery Display Previous page Next page 1 More convenient 2 Setting steps 3 Auto pre-heating 4 Enjoy lunch Previous page Next page Previous page Next page Previous page Next page Check Battery Level 1. Short press the power button. 2. Short press the function selection button five times. To avoid interruption due to low battery, please check the battery level (ensuring it is at least 90%) and charge the device the night before use. The video showcases the product in use. The video guides you through product setup. The video compares multiple products. The video shows the product being unpacked. check battery levwl Merchant Video Meal Time Setting 1.Short press the power button. 2.Short press the function selection button, then long press it. (Note: When the small countdown timer icon below is flashing, it indicates that you have entered the meal time setting mode.) 3.Use the up or down adjustment buttons: short press for ±1 minute, long press for ±10 minutes. 4.Short press the function selection button again. The video showcases the product in use. The video guides you through product setup. The video compares multiple products. The video shows the product being unpacked. set current time Merchant Video Meal Time Setting 1.Short press the power button. 2.Short press the function selection button, then long press it. (Note: When the small countdown timer icon below is flashing, it indicates that you have entered the meal time setting mode.) 3.Use the up or down adjustment buttons: short press for ±1 minute, long press for ±10 minutes. 4.Short press the function selection button again. The video showcases the product in use. The video guides you through product setup. The video compares multiple products. The video shows the product being unpacked. set meal time Merchant Video Temperature Setting 1.Short press the power button. 2.Short press the function selection button twice, then long press it. (Note: When the small temperature icon below is flashing, it indicates that you have entered the temperature setting mode.) 3.Use the up or down adjustment buttons: short press for ±1℉, long press for ±10℉. 4.Short press the function selection button again. The video showcases the product in use. The video guides you through product setup. The video compares multiple products. The video shows the product being unpacked. set the temp Merchant Video Immediate Heating Mode 1.Short press the power button. 2.Short press the function selection button four times, then long press it. Heating completes in 2 hours, then automatically switches to keep warm with green indicator. To exit the immediate heating mode, turn off the device and turn it back on. The video showcases the product in use. The video guides you through product setup. The video compares multiple products. The video shows the product being unpacked. Immediate Heating Mode Merchant Video Important Usage Notes 1. Memory Function Application: The memory function is optimized for users with fixed daily routines. It works best when the lunch box is activated at the same time each day for a consistent meal schedule. Inconsistent daily timing may affect its punctuality. 2. Heating Temperature Specification: The lunch box offers an adjustable heating range of 170°F to 220°F. Please note that this temperature refers to the heating plate itself, not the final temperature of the food contents. 3. Heating Time Planning: A full heating cycle requires approximately 2 hours. To ensure your meal is thoroughly warmed, please plan ahead and start the heating process at least 2 hours before your intended meal time. 4. Battery Level Pre-check: Before each use, please verify the battery level. For a complete 2-hour heating cycle, it is recommended to ensure the battery is charged to at least 90% to prevent interruption. 5. Material Safety Notice: The inner pot is constructed from food-grade 304 stainless steel, which contains nickel. Individuals with a known nickel allergy are advised against using this product. 6. Optimal Heating Tip: As heating originates from the bottom, ensure full contact between the food and the container base for efficient heat transfer. For more even heating, consider adding a small amount of water to drier foods. 7. Compatibility Advisory: To ensure optimal performance and safety, please use the provided original charger and inner pot. The use of non-original components may lead to compatibility issues or suboptimal performance. On Jan 8, 2026 at 19:14:09 PST, seller added the following information: On Jan 14, 2026 at 23:57:33 PST, seller added the following information:


Toma mucho tiempo para calentar la comida